There are a few different methods of propagating Monstera plants. Cutting is considered the easiest and most effective method. Self-propagation also saves you a lot of money by not buying new Monstera plants. Or sometimes, if you are successful with the cutting plan, you can nurture and take good care of them and then sell them for money.
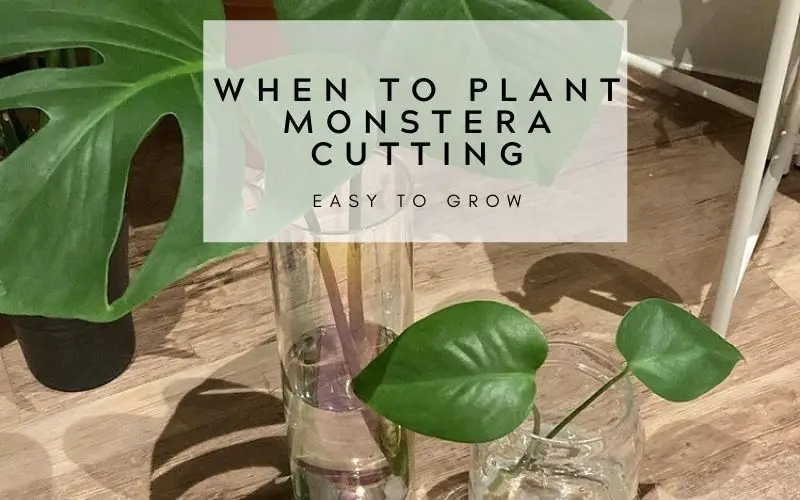
When to plant Monstera cutting?
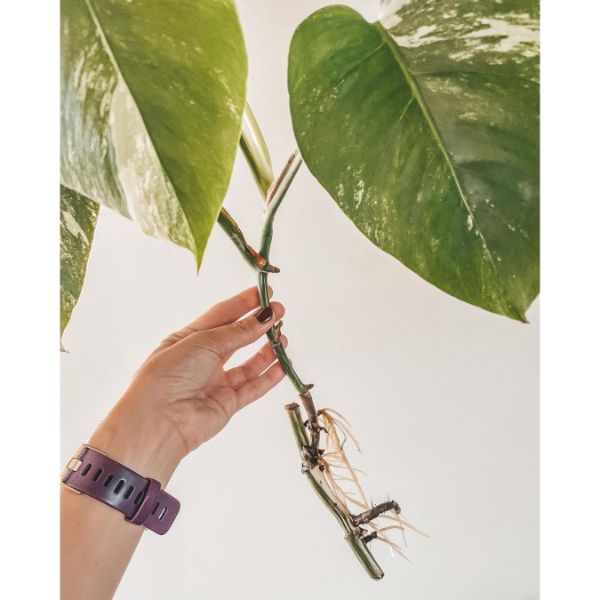
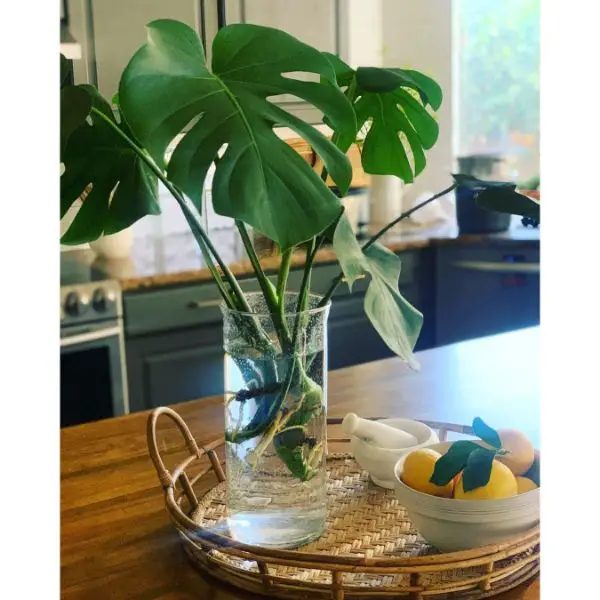
Monstera should be propagated in spring when weather conditions are more favorable for the growth and proliferation of roots. When moving monstera from water to soil should wait until the largest fuzzy white roots have grown long enough to branch into a plethora of lesser roots. When the plant’s roots reach a length of 2-4 inches, it is ready to be transplanted into soil. Transfer the plant to a potting mixture that includes soil as well as perlite or pumice.
Why should you propagate Monstera by cutting?
When propagating plants from cuttings, the ultimate goal is to create new roots from which new plants can grow. Plant collector and YouTuber Sunny Nicole says, “Monstera cutting doesn’t guarantee root growth, but it greatly increases your chances of success.” The rate is 90% or more.
Monstera cutting does not harm the plant
Nicole says she uses this method to propagate rare or difficult-to-root plants like Monstera Variegata. With the one-time propagation method, direct pruning, when the branches have taken root and cut the components, the tree is less damaged and has a higher success rate.

Protecting its root before cutting
Even if you successfully cut the root, there’s no guarantee it will grow into a healthy plant, explains Nicole. “Due to many factors, there is no guarantee the cut will continue to grow,” says Nicole. However, with this method, I can guarantee that the knot will be able to take root before cutting. Plus, this method helps roots grow faster and stronger”.
Steps to propagate Monstera by cutting
You need to prepare:
- Knife or pruning shears
- Small pencil
- Mixture of soil
- A small pot
- Rooting hormone
Step 1: Cutting from healthy parents
Cut a length of about 8 to 15 cm from the healthy part of the stem. Use a sharp knife or pruning shears to cut across the trunk at a 45-degree angle. This angled cut will maximize the area for roots to grow. If possible, take cuttings from the plants. Each cutting should have at least two or three sets of leaves along its length. Make sure the cut has at least one growth node (the bump on the stem from which a leaf or flower grows) that can be buried in the potting medium. Roots will grow from this node and from the cut end of the stem.
Step 2: Remove leaves and apply rooting hormone
Remove the leaves at the bottom node on the cut branch. Apply a powder or gel rooting hormone to the cut end of the cutting and the area where the leaves have been removed. With powdered hormone, moisten the stem before you apply the rooting hormone. If using a gel hormone, simply dip the end of the cutting into the hormone.

Step 3: Inserting cutting branches into soil
Prepare small pots with potting soil. Use a pencil to poke a hole in the potting soil. Then, insert the end of each branch into the soil and manage to keep it upright.
Step 4: Check and care for cutting
Do not place cutting in the sun. Instead, place the pot in a shaded position 50/50 from sunlight. Cuttings thrive on warm temperatures and humidity, and it should be kept evenly moist but not wet as the roots develop. Check the cuttings every two weeks. Look for new leaf growth and root growth. If flower buds or inflorescences develop, cut them off so that the stem can focus on growing the roots. The fresh leaves will support root growth, but the flowers will redirect energy away from the sources.
Step 5: Transfer Monstera cutting
When you see new leaves growing along the cut stem and healthy roots forming, transfer the cuttings to a unique pot with fresh soil. Once you feel fine when pulling lightly on the cut, it means the seeds are fully developed. A small trowel or a large kitchen spoon is a good tool for separating the cut roots and transferring them to a new pot. It’s also the way of planting a Monstera cutting. It’s about 40-60 days.
Related Post: The best fertilizer for Monstera? Best time to fertilize them
Taking care of Monstera after propagation
Monstera is easily propagated by layering in places where roots are formed. Stems intended for reproduction are immediately lined with wet moss in the right places, wrapped with polyethylene and fixed in two places – top and bottom. After the roots appear, the young plant is carefully separated from the mother plant and transplanted into a new container for continuous growth. The cut on the main tree must be sprinkled with charcoal powder to avoid infection and rotting. Monstera, like any vine, requires support, which can be used as an artificial trunk or a moss tube.

Some principles you need to keep in mind
- Regularly spray, mist and feed the plants, especially in the summer;
- There must be a drainage hole at the bottom of the pot
- Roots, not cut off, should be provided with additional nutrients, if possible, into the soil;
- The soil should be fertile, porous, and well-moisturized (preferably crop, leafy soil, silt, humus, sand – in the ratio 3: 1: 1: 1: 1).
Monstera should be between +10 and +24 degrees. All Monstera varieties have in common that they do not require daily watering. You can water a few times a week, or even a week of watering is more than enough for the plant. However, it depends on weather conditions; the climate in which it is grown.
Moderately warm air is suitable for the plant to grow. However, because this plant comes from the equatorial tropics, the higher the temperature, the larger and more attractive the leaves. Monstera will feel good in a bright place without direct rays. It promotes the formation of large, beautifully patterned leaves with a deep green color.


