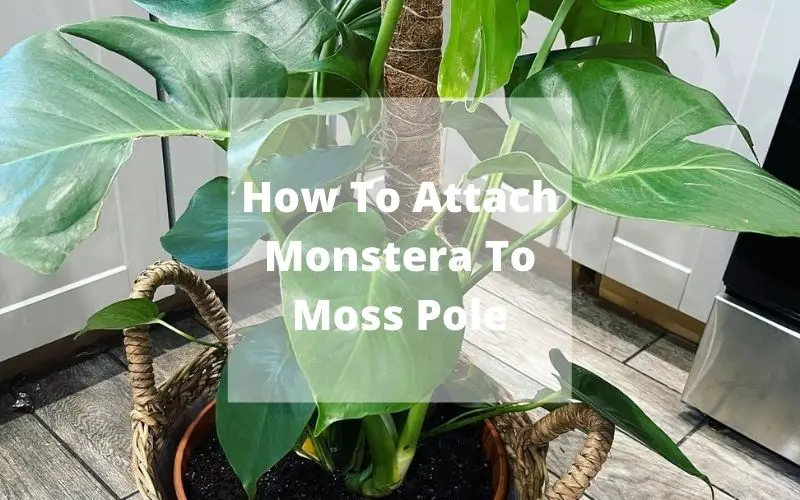
Let’s learn how to tie Monstera to a moss pole and make a moss pole below. Monsteras Deliciosa is climbing plants, which means they take root in the air, attach themselves to other trees in the rainforest and “climb” upwards toward the light. Pretty cool. As their name suggests.
Moss poles are sturdy sticks or posts covered with a layer of Moss. But they work because the Moss creates a texture that’s easy for the roots to cling to. You can buy premade moss poles at some nurseries and garden stores (or online: short or tall), but if you’re interested, it’s better to make them yourself.
How to attach Monstera to a moss pole
One of the best ways to support your Monstera as it grows is to attach it to a moss pole. This will help it to climb and also provide some stability. Here’s how you can do it:
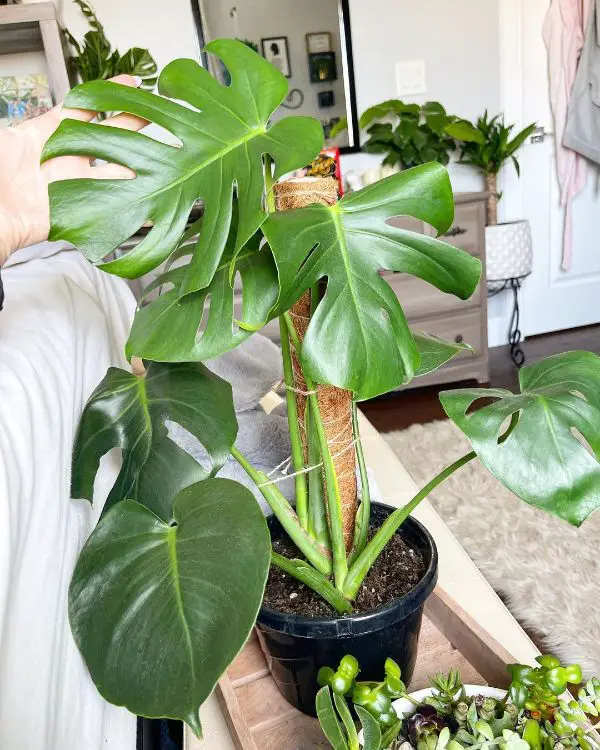
- Start by selecting a moss pole that is slightly wider than the diameter of your Monstera’s stem.
- Cut a length of jute twine that is about twice the height of the moss pole.
- Tie one end of the jute twine around the base of the moss pole, making sure it is secure.
- Gently wrap the jute twine around the stem of your Monstera, being careful not to damage the stem.
- Tie the other end of the jute twine to the top of the moss pole, making sure it is secure.
- Water your Monstera regularly and fertilize it as needed. Soon you will see new growth as it climbs up its moss pole!
How to make moss pillars for betel nut trees
Tools you need to prepare (how to install moss pole Monstera)
- A pole, thick log, or PVC pipe a meter or two taller than your Monstera
- Sphagnum moss (you can buy it at a nursery or online)
- Lanyard or something else to tie
- Large bowl or tray filled with water
Once you’ve gathered your things, find a place outside or somewhere in the house where you can make a mess — as this can get a bit messy!
How to make moss pillars for betel nut trees
Step 1: Soak a moss pole in the water
Place the moss pole in the water and soak for 15-20 minutes.
Step 2: Tie the moss pole
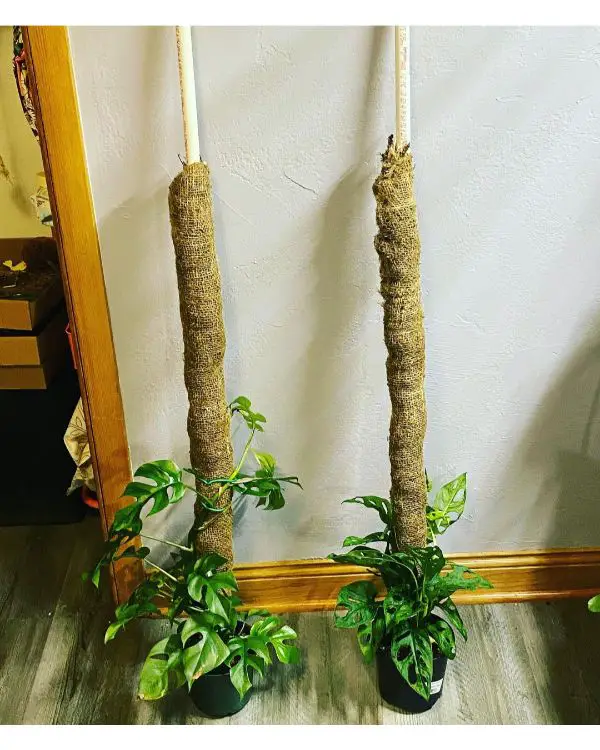
Fasten the rope around the end of the dowel or PVC pipe and tie a tight knot. When the moss pole absorbs water well, put on gloves and squeeze it. If Moss is everywhere, squeeze it out. Wrap the moss around your pole just below where you tied the string. You will be covering a layer of Moss 2-3cm thick, so don’t cover it too thickly.
Then take the end of the rope you tied to the pole and wrap it tightly around the Moss to fix the Moss to the pole. It can be easier for you to tie it with a long lanyard. Continue adding the Moss and wrap the string around it until the pole is almost completely covered, but leave a bit of space below the plug’s base into the pot.
Step 3: Plug in the moss pillar
If you’ve already planted Monstera, carefully poke a small hole in the potting soil, being gentle and trying to avoid breaking the roots. Then plug in the moss pillar and compact the ground to fix the pillar. Use a string to tie the trunk to the pole to stay in place.
If you haven’t planted your Monstera yet, start by building a moss pole on an empty pot. Plug as deep as possible and finally compact the soil. To make sure that it’s easy to make a moss pole low-cost, your Monstera plants will love having something to climb. It will encourage your Monstera to grow vertically instead of horizontally, so it takes up less space and creates a striking piece in your home!
Related Post: How and When to plant Monstera cutting? Dig Nursery tips
Some other ways to make a moss pole
A moss pole is made from some kinds of material, including bamboo tubes, PVC pipes, coconut fiber mats, and Sphagnum Moss.
Making a moss pole from coconut sheath and bamboo tube
Coconut shell is a popular material, easy to find, and used as a good column for the Betel nut tree. First, let’s look for coconut shells and a plastic or bamboo tube to make a pole. Then wrap the coconut sheath on the pole. You have to wrap it tightly to make the tree beautiful. Once covered, secure with wire. Then proceed to plant the tree as usual. Fill the pot with soil, plug the pole in, place Monstera, then use a string to fix the leaves and poles.
Make tree poles from PVC pipes
In addition to coconut shells, making PVC poles for Monstera will be a good choice. It is easy to find that the price is also very low for plants. Using an 80cm long plastic pipe, drill a few holes in the tube to supply water and fertilizer to the roots later through these tiny holes. Then use a thick cloth with good water absorption wrapped around the water pipe. Next, put soil and substrate into the pot and fix the pole.
Making it from coconut fiber mats
Another simple way is to make them from coconut fiber mats. To make a post for a tree from coir, you will need a coconut fiber mat and some plastic lanyards. First, roll a coconut fiber mat into a cylinder, then tighten it with steel wire. Note that you should leave a space for the pillar to plug into the ground. Place the pillar in the background and add soil to fix the moss pole in a pot. Finally, pour water into the plastic pipe between the posts to maintain soil moisture.
Make it from sphagnum moss
White sphagnum moss is also a popular material for making a moss pole for Monstera. A white or soft cocoon is the name of the growing substance. They are from a type of Moss that lives in swamps. The structure is white, fibrous, and soft. They are suitable for making a moss pole for Monstera and other trees.
Using this type of moss pole is both good and aesthetically pleasing. Prepare a suitable-sized plastic tube. Poke a few holes around the plastic pipe so that you can add water to it.
Finally, the water can seep through the white Moss and maintain moisture for the plant. Use white corrugated iron to wrap around the plastic pipe and fix it with wire. Then select it to the pot and place a Monstera in. Finally, set the branch with wire, and you’ve done.