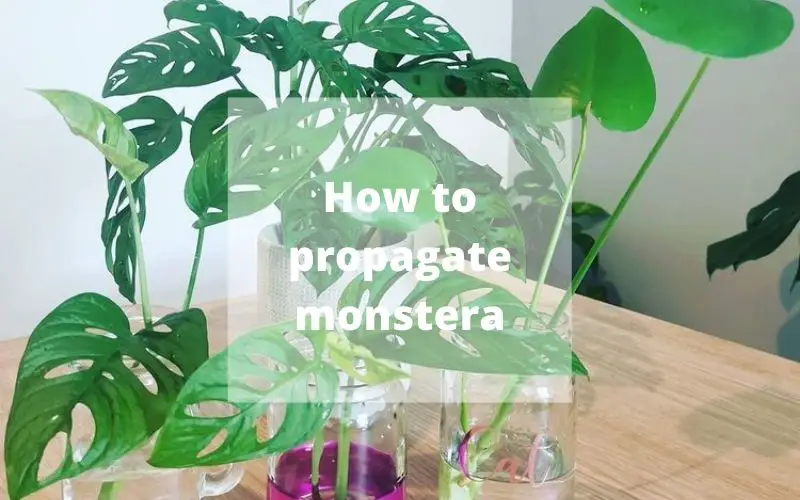
Hey there, fellow plant lover! If you’re as obsessed with Monstera deliciosa as I am, consider expanding your green oasis with a few more of these magnificent Swiss cheese plants. But how to propagate a Monstera?
I’ve got you covered with a step-by-step guide as friendly as your favorite gardening buddy.
In This Article
When Is The Optimal Time For Monstera Deliciosa Plant Propagation?
The perfect timing for Monstera propagation varies based on your plant’s condition and growth cycle. In general, spring and early summer stand out as prime seasons for Monstera propagation.
During this period, when your Monstera is in its active growth phase, it’s the ideal moment to initiate propagation, whether your goal is rejuvenation or creating new plants from cuttings.
However, if you find yourself propagating during the fall or winter, be aware that it might take a bit longer due to the plant’s slower growth.

How Can You Propagate A Monstera Deliciosa Using Stem Cuttings?
When it comes to propagating Monstera, I’ve discovered that using stem cuttings and selecting the right growing medium is the way to go. Based on my own experiences, a few options have yielded excellent results.
You can introduce perlite, mix perlite, or orchid bark into your standard potting mix for improved drainage. I even once created my very own mix by blending equal parts of peat moss, perlite, and organic compost. Anyway, it’s all about finding what suits your Monstera best.
Setting Up the Pot
Grab your plant pot, and let’s get started. Begin by filling your pot approximately halfway with your chosen growing medium, ensuring there’s about an inch of space between the soil’s surface and the rim of the pot.
Here’s a tip from my experience: give that growing medium a gentle, even moisture level before proceeding. Not too soggy, just enough to make it nicely damp. This sets the stage for your Monstera cuttings to thrive.
Taking the Cutting
Let’s choose a suitable stem from your Monstera plant for propagation. Look for a healthy stem with a node (it’s like a little bump on the stem), at least one aerial root, and make sure there are at least two leaves attached.
Once you’ve found the right stem, grab your pruning shears and make a clean cut just below the node or right beneath an existing aerial root. It’s important to be precise.
Planting the Cutting
It’s time to place that Monstera cutting into our soil. Simply create a hole in the center of the soil using your finger or a pencil. Then, plant the cutting with the node positioned about an inch below the surface.
If there are any aerial roots, gently wrap them around the upper part of the pot. Add some extra soil to cover everything up, and if necessary, trim any excessively long aerial roots. You’re well on your way to nurturing healthy Monstera roots!
Monitoring Progress
Find a warm spot with bright, indirect light for them. Monstera cuttings thrive in this cozy atmosphere. When it comes to watering, maintain consistency without going overboard.
Keep the soil constantly damp, but avoid waterlogging. As I often do, I recommend allowing the top layer of soil to dry out between waterings to prevent root rot after one to two weeks.
How To Propagate A Monstera via Air Layering
Here’s another fantastic method to consider for propagating your Monstera plant: air layering. With air layering, you’re essentially encouraging the plant to grow new roots while it remains attached to the main one.
This technique reduces the risk of cuttings rotting or failing to root – a significant advantage, wouldn’t you agree? Additionally, you can closely monitor root development without disturbing the cutting or its growing medium.
Preparing Sphagnum Moss
I often immerse a handful of sphagnum moss in water for about 15 minutes before I start the propagation process. This helps ensure that the moss is fully saturated and ready to go.
Making the Incision
Locate a healthy stem on your Monstera plant that possesses a node. Use a clean and sharp blade or shears to make a cut about one-third of the way through the stem, just below the node. This incision creates an opening for new roots to take hold.
Applying Sphagnum Moss
After soaking the sphagnum moss, I typically give it a gentle squeeze to remove excess water. Then, I wrap this moss around the cut area and the node, creating a layer that’s approximately one inch thick.
Remember to grab some clear plastic and secure both ends with twist ties. It’s essential to ensure that the plastic completely encases the moss to trap moisture.
Tracking Root Development
As you move ahead in this process, make sure to keep a watchful eye on that moss. If it seems like it’s drying out, just give it a little mist with water to keep it moist.
Other Monstera Plant Propagation Methods
Beyond the methods I’ve already discussed, there are a few more techniques you can explore for propagating your Monstera plants.
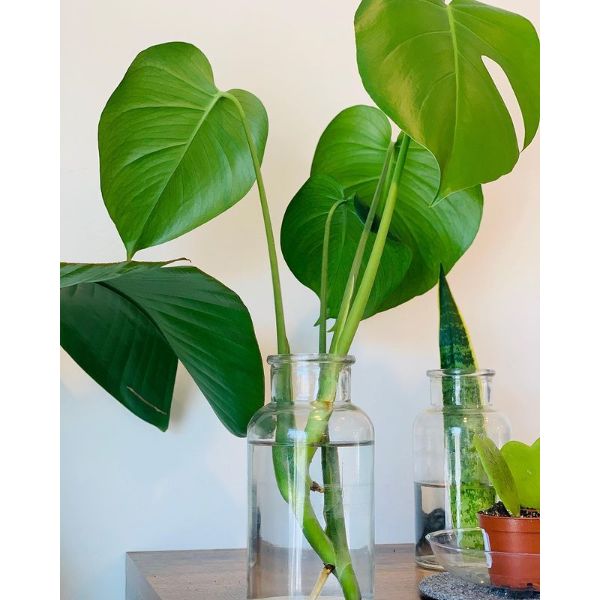
1. Water Rooting: This method involves placing Monstera cuttings in water until they grow roots. It’s a great way to keep an eye on root growth before transferring them to soil.
2. Soil Propagation: Another common approach is to root Monstera cuttings directly in soil. This provides a seamless transition to their permanent growing environment.
3. Moss Propagation: By using sphagnum moss and perlite as a growth medium, you can promote stronger root development in Monstera cuttings compared to water.
4. Root Division: If you have mature Monstera plants, you can divide the root ball into multiple sections, each with its stem and leaves. This method not only creates new plants but also revitalizes the original ones.
Tips for Caring After Propagating Monstera
Now that you’ve got your Monstera cuttings started, let’s chat about how to take care of them during the next phase. Here are some handy tips I’ve picked up:
1. When moving water-rooted cuttings to soil, do it gradually to help them adjust.
2. Opt for soil that drains well and use pots with drainage holes to prevent root rot. Monstera roots like breathing room!
3. Let the top inch of the soil dry out before you water again. No need to drown it
4. Monstera babies love humidity, so consider misting them or using a humidity tray. If the air gets too dry during propagation, a humidifier can be a real lifesaver.
5. They thrive in bright, indirect light. Avoid direct sun; it’s a bit too much for them. If your Monstera isn’t getting enough indirect sunlight, think about using a grow light.
6. Keep them comfy in the range of 65°F – 80°F (18°C – 27°C).
7. To speed up root growth at the node, you can consider using rooting hormone.
These little tips should help your Monstera cuttings grow into beautiful, healthy plants!
FAQs
Where To Cut Monstera For Propagation?
It’s advised to cut the Monstera 1-2 inches below the node.
Can You Propagate Monstera In Water?
Absolutely! You have the option to propagate Monstera in water, and it’s quite a popular method.
Here’s how it works: Simply place Monstera cuttings in water and patiently wait for those roots to develop. It’s a nifty way to closely monitor root growth before transferring the cutting into the soil.
How To Propagate Monstera From Stems?
When it comes to propagating your Monstera from stems, it’s all about selecting a healthy stem that meets these criteria: it should have a node (where new growth can sprout), at least one aerial root, and a minimum of two leaves.
Make a clean cut just below the node or right beneath an aerial root. After that, you have the choice to root the cutting in either water or soil, depending on your preference.
How Long Does It Take For Monstera Cuttings To Root?
The time it takes for those Monstera cuttings to establish roots can vary. It hinges on factors like temperature, humidity, and your chosen propagation method.
If you’re rooting them in water, it could take anywhere from a few weeks to several months for those roots to really get going. And if you’re leaning towards soil, well, it’s pretty much in the same ballpark timing-wise.
Is It Possible To Propagate A Monstera Plant Using Just A Leaf?
No, Monstera propagation typically relies on stem cuttings with nodes, and it’s not very common to attempt propagation from a single leaf.
Conclusion
Remember that the best time to embark on your Monstera propagation journey is when you feel ready to nurture new plant life. Whether it’s the vibrant days of spring or any other season that beckons you, your patience, care, and dedication will truly determine the success of your Monstera propagation adventure.
Enjoy every step of the process and revel in watching your Monstera family flourish and thrive!
Related Post: Do Monsteras Like Humidity? Should I Mist My Monstera?