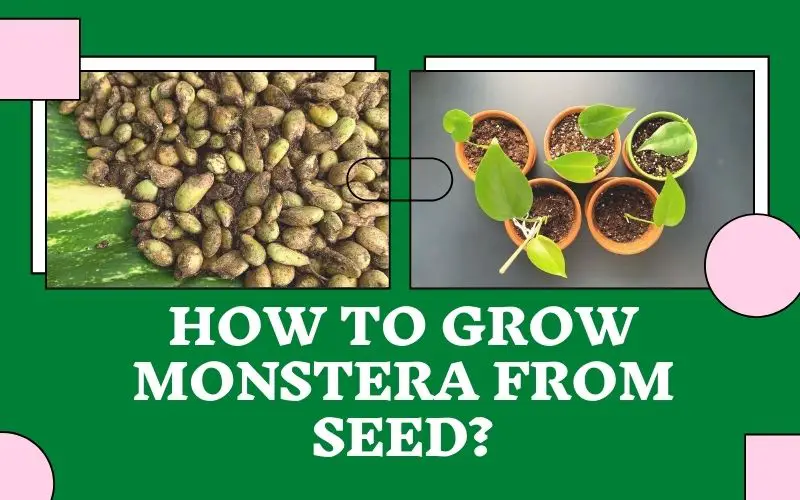
One of the popular methods of growing Monstera plants is from seeds. Let’s find the answer: how to grow Monstera from the seed below. You’ll want to know how to grow Monstera from seed in the most efficient and time-saving way. Dig Nursery hopes you find helpful information in the article.
How to grow Monstera from seeds
One of the primary methods of growing plants is growing plants from seeds. To make sure you can successfully grow Monstera plants from seeds. You need to ensure the correct planting technique with six steps:
- Step 1: Choose good seeds
- Step 2: Soak the Monstera seeds in warm water
- Step 3: Incubate the seeds
- Step 4: Prepare the soil for planting
- Step 5: Fill in the ground and sow the seeds
- Step 6: Take care of seedlings
The success rate when raising Monstera plants from seed is not high. Significantly, the seeds have been left and are of poor quality for a long time. Besides, you need to understand that growing Monstera plants from seed until they have tens of centimeters of leaves is not a matter of months. To reach a leaf size of 30cm, Monstera needs to be aged at least one and a half to 2 years. Therefore, you need to be patient in growing Monstera plants. But, it’s a great experience if you’re a tree lover, isn’t it?
Tip: Currently, there are also quite a few gardeners offering to sell seedlings that have been successfully nursed from sawn-leaved seeds at meager prices. You can also choose to buy instead of buying seeds, the success rate will be higher than seeding, and you can also admire each stage of development of the dawn-leaf Monstera.
Steps to grow Monstera plants from seeds
To help you be better at growing Monstera plants from seed, Dig Nursery guides you through growing plants from seed in 6 easy steps below.
Step 1: Choose Monstera’s good seeds
Say no to cheap seeds floating on the market. Say no to fakes, imitations, and poor quality. From there, note that when buying seeds, you should buy directly from a reputable gardener instead of buying online. If you buy monstera seeds on e-commerce sites, an unknown origin will cause you to buy poor quality or another type of seed! Growing Monstera from seed must choose a good value for money, good, pest-free, for a high success rate.
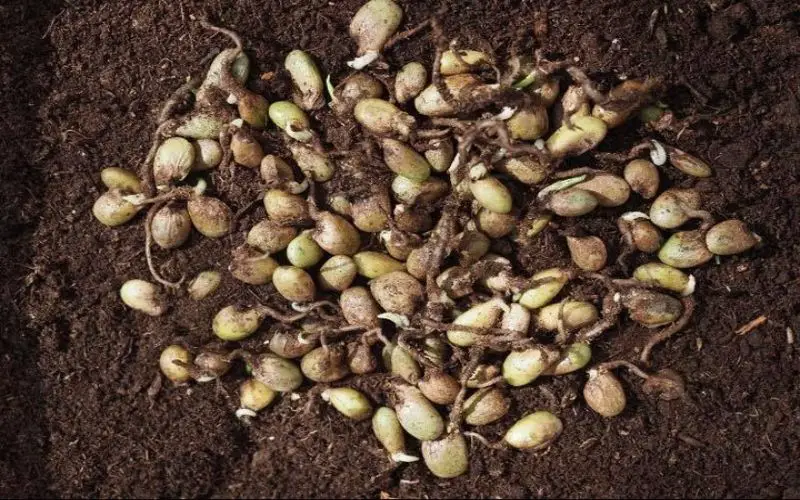
It must be the seed from the Monstera Deliciosa fruit that has just been harvested. High-quality seeds will usually have a brown, dry, slightly rough texture like paper. Each of these seeds is about the size of a pea. In addition, freshly harvested seeds are usually green. Monstera Deliciosa possesses seeds that cannot be preserved for long. The seeds of this plant take about 1-2 months after harvest. If not sown, they will spoil.
Step 2: Soak the seeds in warm water
Once you have the seeds in hand, prepare a pitcher of warm water and soak the seeds for 24 to 48 hours. Because warm water will help soften the seed’s outer shell, breaking the shell structure, and from there, the seeds can germinate quickly. Soaking is one way to stimulate Monstera seed germination. But with the seeds of Monstera, the sawn leaves are even more special. Since seed plants are prone to rotting, soaking in water will minimize the chance of the plant experiencing this condition.
Step 3: Incubate the seeds
First, choose a small pot about a hand high (range 10-15cm). Choose pots that do not need to be too large to avoid making them wasteful. However, the pot should not be too shallow to allow room for the roots to grow as they begin to sprout. Therefore, a diameter of about 10cm is reasonable. If you are an environmental lover, a greenist, reuse used plastic containers or any old utensils suitable for incubation. However, you need to choose a pot with a drainage hole or add drainage holes for the “recycling boxes.”
In addition, we can also incubate the seeds in a tray containing a damp cloth or paper. If only set in wet paper towels, place the plant in a zip bag. With this method of germinating, you can easily track the plant’s development stages. However, when the seed has developed a few small leaves, you should plant it immediately in a prepared pot/jar.
Step 4: Prepare the soil for planting
Before preparing, you need to clean the digging and shoveling tools. Wash hands thoroughly and wears gloves. Plastic gloves will often be highly inconvenient, so medical gloves and latex gloves are the most reasonable choice! Use an amount of potting soil just enough for the pot you’re planning to use to plant seeds. Similar to the soil mixture for growing Monstera. Make sure the factors: are clean, well-moisturized, and breathable. You have 70% success.
The remaining 30% depends on the growing medium of sawn-leaved Monstera. You can mix seven parts coco peat with three parts perlite and add some organic fertilizer to make a seed medium. Besides, you can also replace coco peat with a little Sphagnum Moss to incubate the seeds.
Step 5: Fill in the soil and sow the seeds
First, fill the pot with a soil mixture. Dip your hand in the ground for about 1 inch, and then put the Monstera Deliciosa seeds in. Next, lightly cover them with another layer of soil. Note watering or misting to keep the soil and seeds moist. It is necessary to maintain regular watering. Place the seed pot in a cool place with low, indirect light. Then, wait about 2-4 weeks and see the seeds start to develop.
Note: Temperature, humidity, soil mixture, and light are the four critical factors that make Monstera seeds quickly germinate and develop. However, that does not guarantee a 100% success rate that the seeds will all germinate—significantly when the seed is already damaged from the beginning, but we can’t tell. During seed incubation, if the nursery appears white mold, has a foul smell, or has soggy seeds. Perhaps, you have to throw them away and start over.
Step 6: Take care of seedlings
Like adult Monstera, seedlings grown from seeds also need the same care factors in terms of habitat (substrate, temperature, light, water) and good fertilizer regime.
Monstera Seeds Germination
We recommend growing many seeds at the same time. Because some of the seeds may not germinate, you’ll have a better chance of growing a healthy plant or two. And if many seeds germinate and flourish, that’s fantastic! You’ve got a bunch of baby Monstera plants now!
It’s advisable to germinate the seeds within a week of receiving them for the greatest results. If you have to wait, soaking the seeds will keep them from rotting for a few days. To keep them fresh for a little longer, put them in the fridge in a jar with some moist sphagnum moss.
Everything you need to know about germination, or getting a seed to sprout, is right here.
Soaking Techniques
Soaking the seed before germination is optional, however, it softens the rigid outer coating of the seed, allowing it to germinate and sprout faster. It can also postpone decaying, so soaking your seeds is a good idea if you detect them starting to rot. Finally, soaking seeds that have dried up or become a bit old can rehydrate them, increasing your chances of getting them to germinate.
Simply fill a clean jar halfway with lukewarm water (rainwater, distilled water, or filtered water is excellent) and add the Monstera seeds. Allow them to sit for a day or two (24-48 hours) to absorb some water and get hydrated.
Germination of Paper Towels
You might remember this from your elementary science class at school. This technique, which is often referred to as “the Ziploc baggie system, could be very entertaining because you can watch the seed develop through phases! This is especially beneficial when you have kids who enjoy watching seeds develop.
This approach is also less dirty than soil-based germination, and many plant owners say it speeds up the process. You’ll also be able to see if your seeds are viable much faster.
To use this approach, soak a paper towel in lukewarm purified or distilled water (or rainfall, if available) and fold a few soaked (or at least wet) Monstera seeds within it, leaving at least an inch between seeds.
After that, place the entire bundle in a zipped sandwich bag, seal it, and store it somewhere warm. Sprouts should appear in a few weeks!
When it comes to Monstera seeds, how long do they take to germinate?
Germination might take anything from 10 days to a month under optimum conditions. Wait patiently!
Whether your seeds germinated in soil and you haven’t seen any sprouts after a month, you can dig them up to see if they’re sprouting. If they’re sprouting but taking their time, rebury them—sprouts facing up, of course—and continue doing what you’ve been doing. Toss the seeds if they don’t seem to be doing anything or are decomposing, and start over with a new set. It occurs!
Maybe you are interested: Monstera leaf not unfurling? Causes and how to fix it
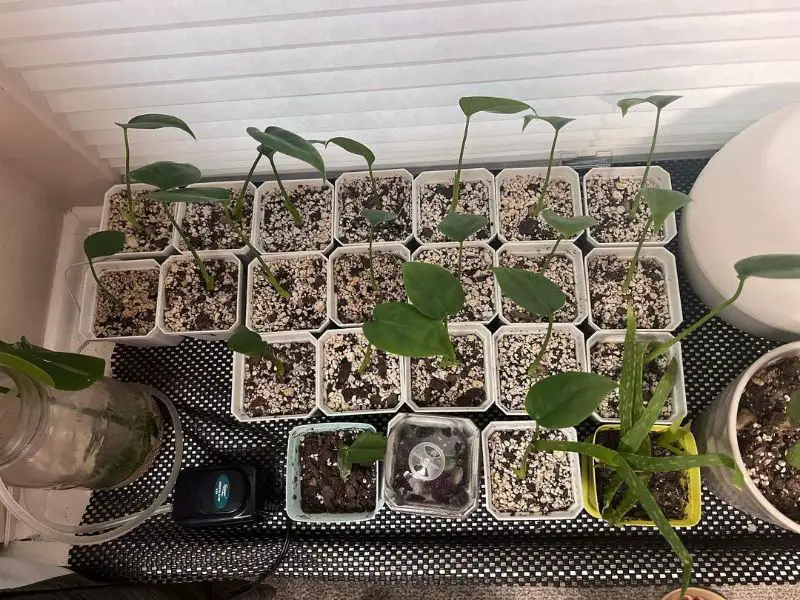
Monstera Seedlings: How to Care for Them
Monstera seedlings are no different than seedlings of any other indoor plant in terms of care. Protect seedlings from chilly draughts by spraying them regularly with a spray bottle. The essential degree of heat and light may be achieved with the use of special photo lamps, whose red glow speeds up photosynthesis and encourages the growth of new leaves.
Following the discharge of a few vigorous shoots from the Monstera, the next stage of seed cultivation begins -. Because a plant’s growth rate is directly proportional to the development of its root system, it’s critical to select a reasonably large pot in which Monstera seedlings may completely grow and develop.
Important! Monstera juice has the potential to produce mucous membrane burns as well as an allergic response. It has the potential to induce gastrointestinal bleeding if consumed.
Monstera Seedlings Transplanting
When the leaves on your young Monstera plants appear, it’s time to place it into a new pot with fresh potting mix (if it’s been in a temporary container).
If you germinated your seeds in a tiny pot, you can keep the plant there until it grows large enough to require repotting.
It’s also worth noting that some seedlings may not make it through the transplanting process. Remember that even adult Monsteras can go into shock when they’re repotted when their habitat is drastically altered, and fragile seedlings are no exception. So don’t feel guilty if you lose a few! There was nothing wrong with you.
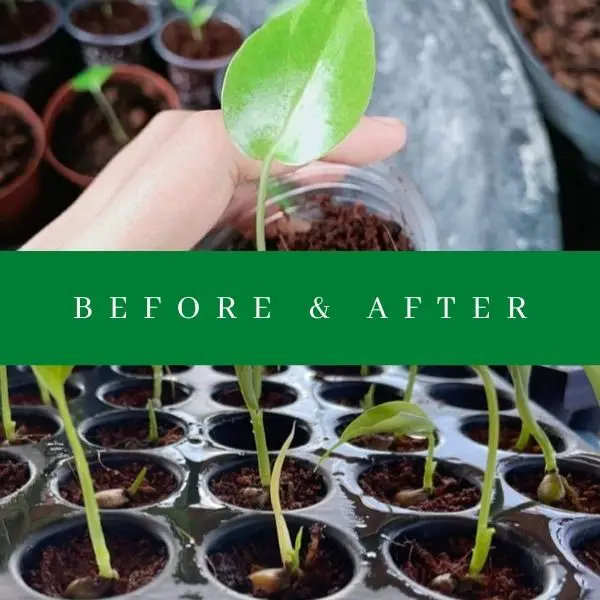
Monstera seed is growing naturally into a seedling
To transplant a seedling, fill a 3- to 4-inch container with drainage holes with peaty, well-draining soil like Monstera Potting Soil. Make a tiny hole in the earth with your finger, about a few inches deep. Remove your seedling from its present container with care and carefully set it in the hole with the sprout protruding out of the earth.
Subsequently, bury the seed and properly water it. If required, add a bit of additional dirt to the top to adjust for the setting. Then, much like a mature Monstera Deliciosa, position your small plant in a location where it will receive plenty of bright, indirect sunshine and care for it as you would a mature Monstera Deliciosa.
Creating a Mini Greenhouse with Peat Pods
Seed starting kits are a quick and easy method to get your Monstera seeds started. In a plastic container, or “mini-greenhouse,” we like to use peat pods or pellets. This is a simple setup that allows you to germinate a large number of seeds at the same time in a pleasant humid atmosphere.
There are a few different firms that sell peat pods. These wonderful tiny peat pods are tightly wadded bundles of peat moss, just how they sound. After watering, fluffing, and putting them up within the little greenhouse, you may plant your seeds straight inside them. They hold moisture well without becoming saturated for lengthy periods of time, and they create a fantastic environment for your seeds to germinate.
After the seeds have sprouted, you may transplant them to ordinary potting soil in pots. These peat pods may also be used with new seeds, making them a wonderful investment if you intend on growing a lot of plants from seed!
Direct Planting in Pots
You can germinate your seeds in the same pot you want to leave them in for a while if you don’t want to start them in a baggie with a paper towel or in a plastic container.
To do so, start with a tiny pot (3-4 inches) with drainage and fill it 2/3 full with peaty potting mix. Place a wet or damped seed on top, then cover with a bit more soil, leaving an inch to a half-inch of headroom. To boost humidity, water well and cover the pot with a plastic bag or plastic wrap. Keep the soil moist and the container in a warm, indirect light location. You should see a tiny sprout emerge from the dirt in 3 or 4 weeks! (If nothing grows after a month, pull out the seeds and examine.) Rebury it and give it some more time if it’s sprouting.)
Simply keep your new sprout in its container and relocate it to a brighter location after it has developed leaves.